How to Add an Events Calendar to WordPress (Step by Step)
Whether you run a church, a school, a venue or a club, an events calendar is the page people come back to most. This guide shows how to add an events calendar to WordPress properly — the planning, the setup and the small details that make visitors trust it.
In short: install a free events calendar plugin, add your events with a venue and timezone, put the calendar on its own page, then link to it from your menu and homepage. Expect about 15 minutes for the first event and two minutes for each one after that.
Step 1: Choose how you’ll run the calendar
There are three common ways to show events on a WordPress site:
| Approach | Good for | Watch out for |
|---|---|---|
| An events plugin | Most sites: events live in WordPress with their own pages | Pick one that doesn’t slow your site down |
| An embedded Google Calendar | A calendar already maintained in Google by someone else | No event pages, so search engines and visitors get very little |
| A static page or table | Two or three events a year | Goes out of date quickly; nothing to click or save |
For most sites a plugin is the right answer, because each event gets its own page that Google can find and people can share. If your events already live in Google Calendar, read our comparison of embedding Google Calendar vs using a plugin first.
This guide uses Monthly Events Calendar, our free plugin, but the steps are similar for any events plugin. If you’re still comparing, use our checklist on how to choose an events calendar plugin.
Step 2: Install the plugin
- In your dashboard, go to Plugins → Add New Plugin.
- Search for Monthly Events Calendar.
- Click Install Now, then Activate.
A new Events Calendar menu appears. Before adding events, open Events Calendar → Settings and set your date format, time format and timezone, so every event starts with the right defaults.
Step 3: Add your first events
Go to Events Calendar → Add new Event. Give it a short title, a description that answers “what, who for, and how do I take part”, and then fill in the Event Details box:
- Date and time — pick the start and end in the date range picker, or tick All-day event.
- Timezone — leave it on your site’s default unless the event happens elsewhere.
- Venue and organizer — add them once; next time you just pick them.
- Highlight Color — one colour per kind of event makes the month easy to scan.
Add a featured image and an event category, then publish. Add at least three or four events before you show the calendar to anyone — an empty calendar looks abandoned. Our guide to creating events explains every field.
Step 4: Put the calendar on a page
Create a new page called Events (or Calendar, What’s on — whatever your visitors would look for).
- Block editor: add the Monthly Events Calendar block and choose the default view in the sidebar.
- Page builders and classic editor: paste the shortcode
[wp_monthly_events]. See where to paste it in each page builder.
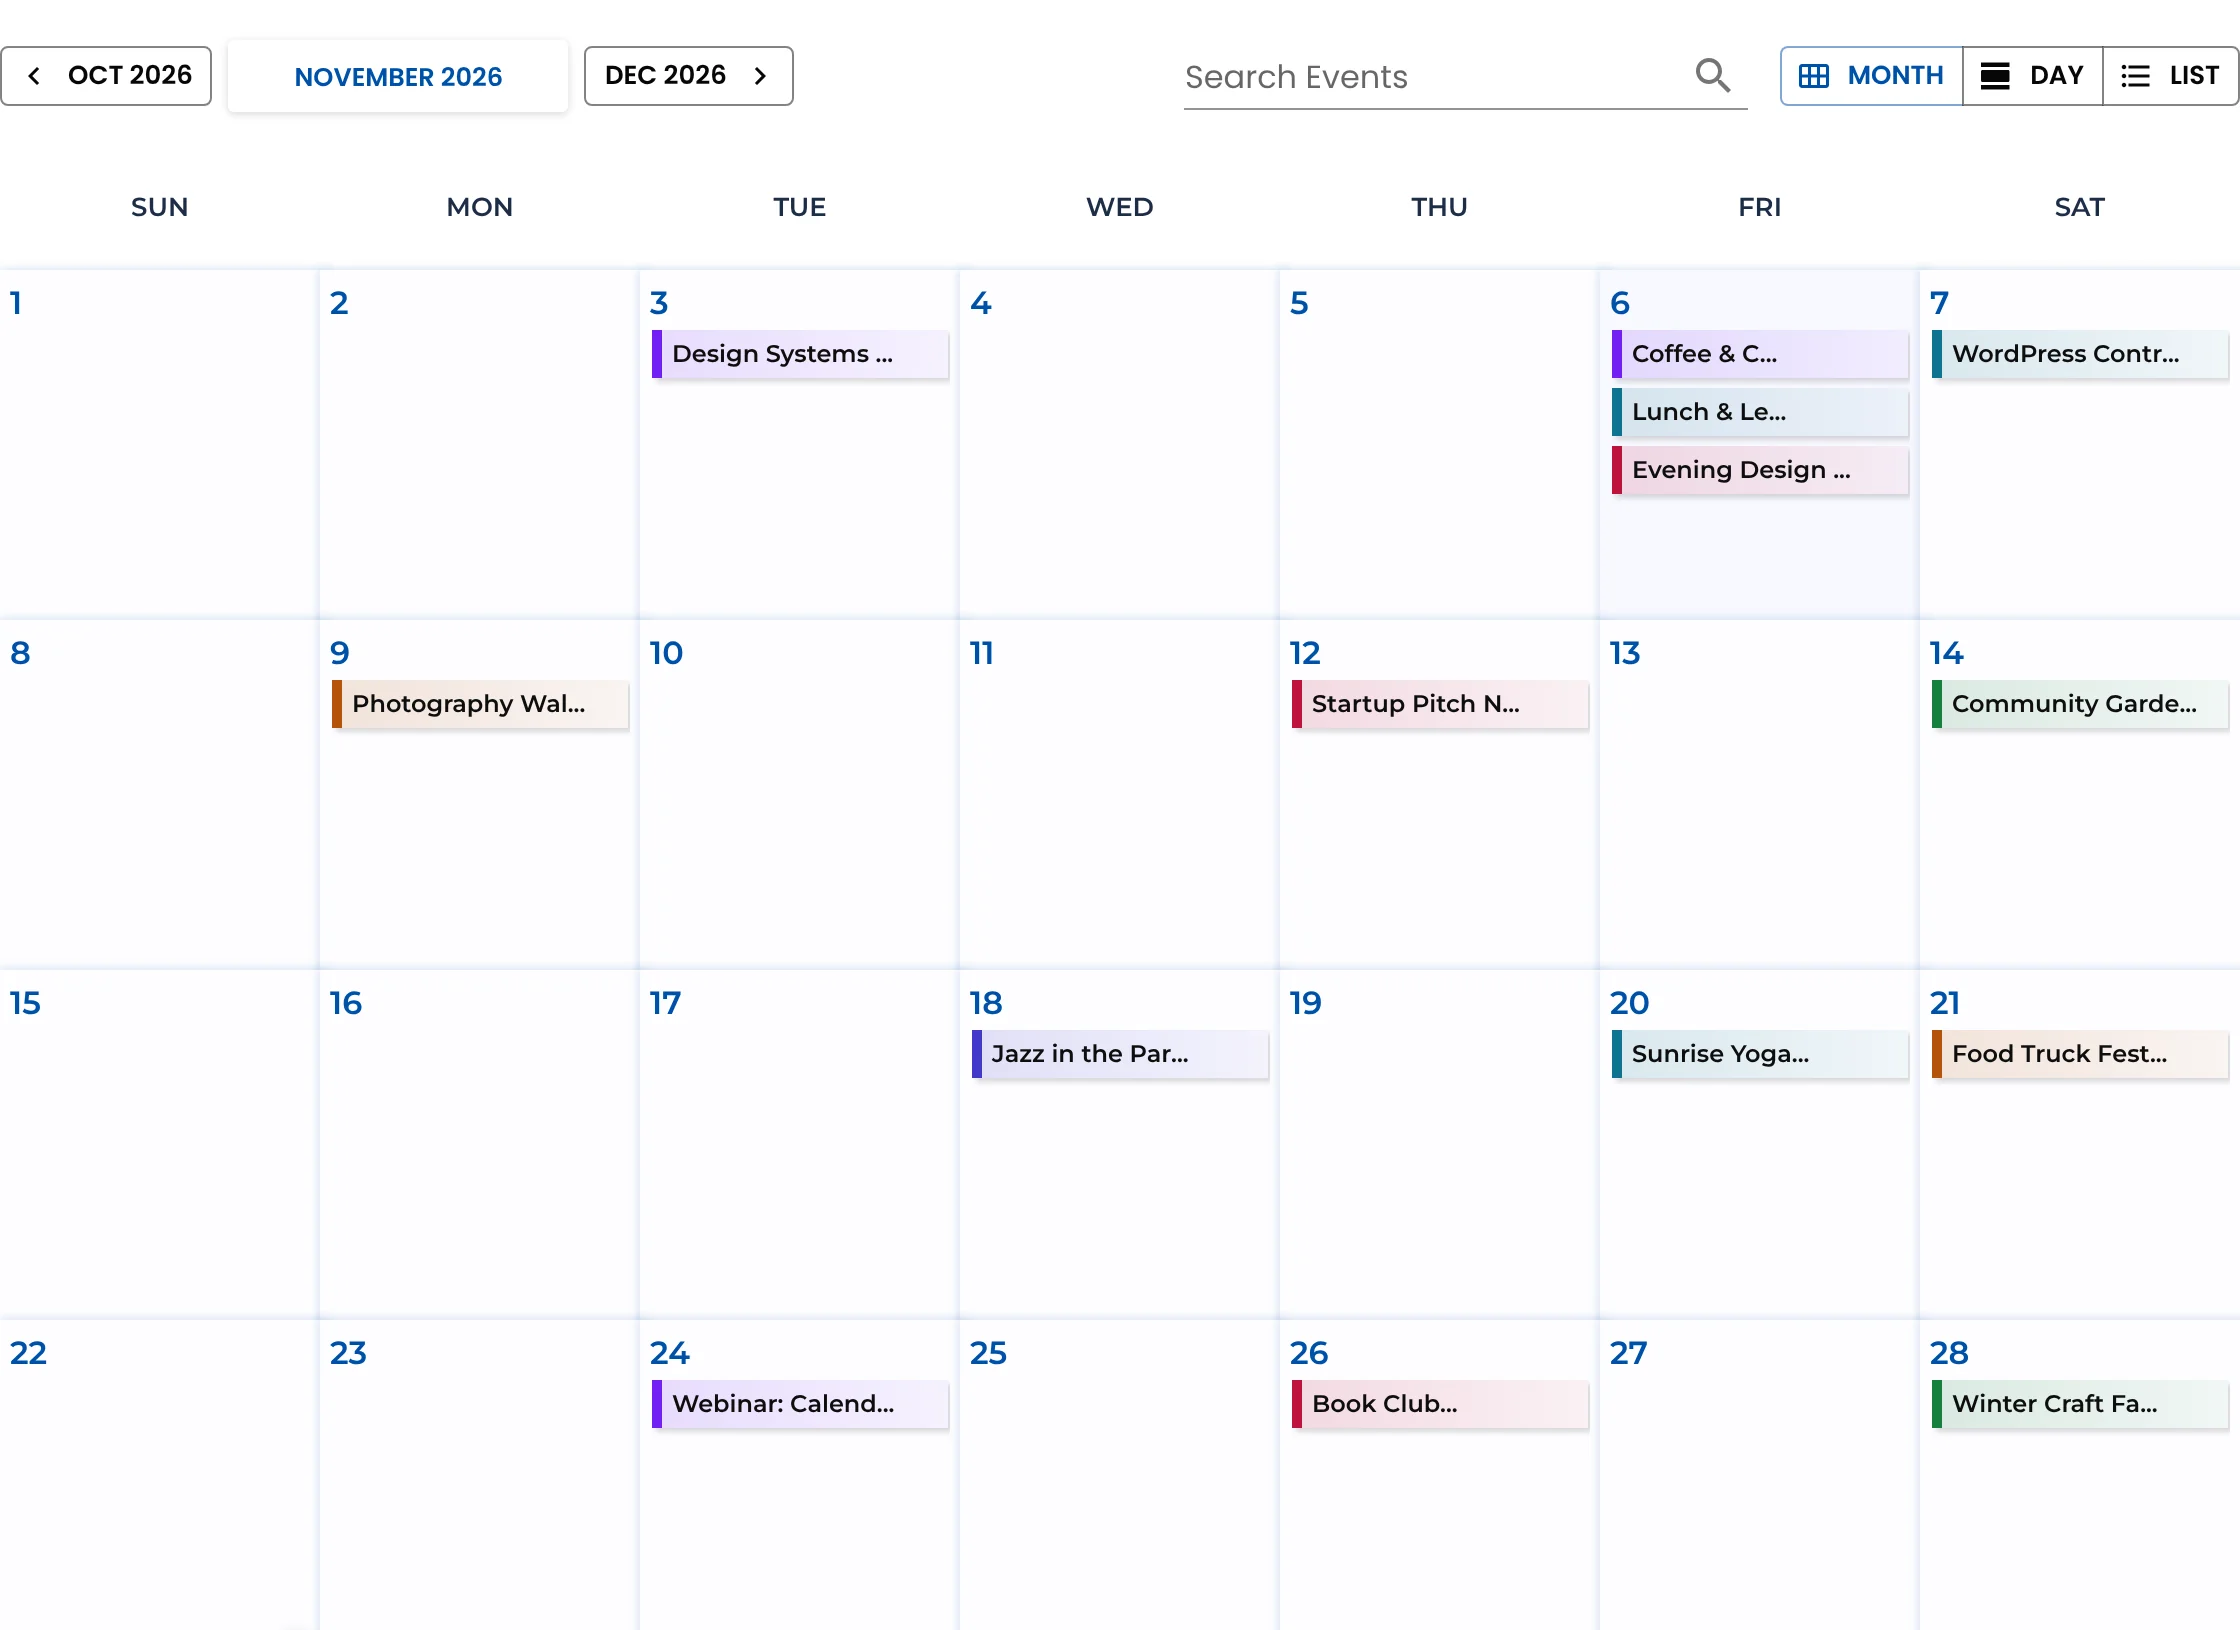
Publish the page, then set it as your calendar page under Events Calendar → Settings → Select Calender Page, so category pages link back to it.
Step 5: Choose the right view
| View | Use it when |
|---|---|
| Month | People plan ahead and want to see the whole month — clubs, schools, venues |
| List | You have a few events a month and want each one to have room — homepages, small organisations |
| Day | Lots happens on the same day — conferences, festivals, class timetables |
Visitors can always switch views with one click, so this only sets where they start. Try them on the live demo.
Step 6: Make it easy to find
A calendar nobody can find doesn’t help anyone. Before you call it done:
- Add it to your main menu. “Events” is the label most people look for.
- Show what’s next on your homepage with the list view. How to show upcoming events
- Link to the event page, not the calendar, when you post a specific event on social media or in a newsletter.
- Check it on your phone. Most visitors will see it there first.
Step 7: Keep it fresh
The calendar only stays useful if it’s current. Put a 10-minute slot in your week to add new events, fix changed times and mark cancellations. Rescheduling? Change the dates on the existing event rather than creating a new one, so links people already shared keep working.
For more ideas on getting people from the calendar to the door, read how to promote events on your website.
Keep reading
- How to Add an Events Calendar in Elementor (Free)
- How to Add an Events Calendar to a Divi Site
- How to Add an Events Calendar in Avada
Add your events calendar today
Free, open source, and ready in five minutes.