How to Add an Events Calendar in Avada
Avada ships with integrations for The Events Calendar, but you don’t have to use it. If you want something lighter, any calendar with a shortcode works in Avada Builder. This guide sets up an Avada events calendar with the free Monthly Events Calendar plugin in a few minutes.
What you need: the Avada theme with Avada Builder (Fusion Builder) and the free Monthly Events Calendar plugin.
Step 1: Install and add events
- Go to Plugins → Add New Plugin, search for Monthly Events Calendar, then install and activate it.
- Open Events Calendar → Settings and set your date format, time format and timezone.
- Add a few events under Events Calendar → Add new Event, each with a venue, a highlight colour and a featured image.
Step 2: Add the calendar with Avada Builder
- Edit your Events page with Avada Builder (back-end or Live editor).
- Add a Container with a 1/1 column. For the month view, set the container’s Interior Content Width to Site Width or wider.
- Add a Code Block element to the column. (A Text Block element works too.)
- Paste:
[wp_monthly_events]- Click Save, then Update the page.
The Live editor may show a placeholder rather than the calendar while you edit; view the page to see it running.
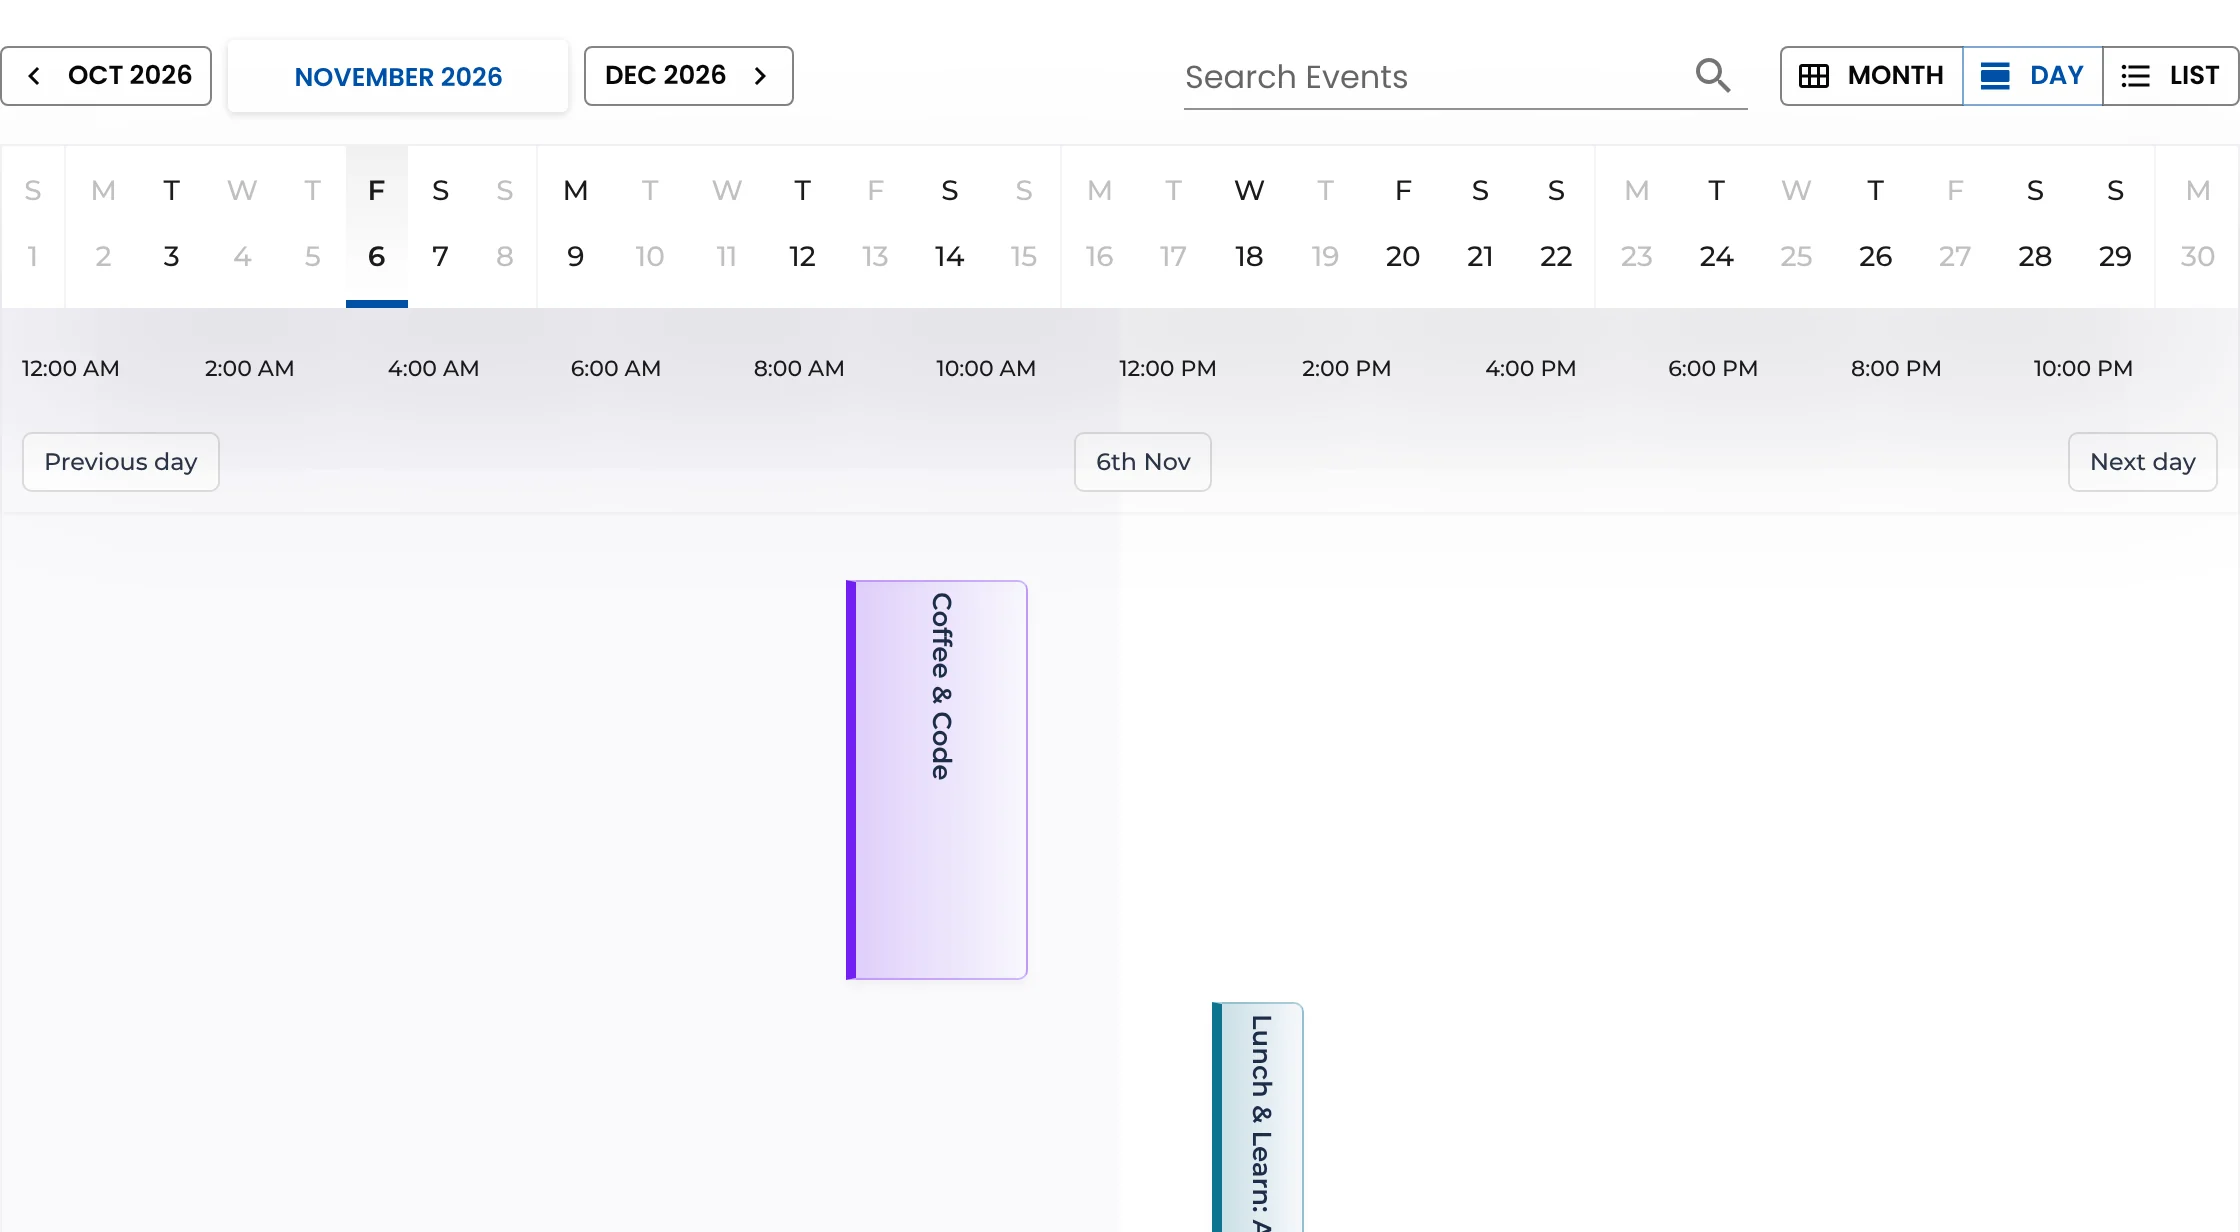
Step 3: Choose the starting view
| Where | Shortcode |
|---|---|
| Main Events page | [wp_monthly_events] |
| Homepage container, sidebar-style column | [wp_monthly_events view="list"] |
| Event-day schedule | [wp_monthly_events view="day"] |
One calendar per page; visitors switch views with the buttons at the top.
Step 4: Match your Avada design
- Colours: set each event’s Highlight Color to colours from your Avada Global Options → Colors palette, one per type of event.
- Title bar: on the Events page, turn on Avada’s page title bar or add a Title element above the calendar — “Events” or “What’s on”.
- Call to action: add a Button element under a homepage list linking to the full calendar page.
- Spacing: Avada containers add padding by default; reduce it on mobile in the container’s Design tab so the calendar starts sooner.
If you’ve used The Events Calendar with Avada
Avada’s events elements and layouts are built for The Events Calendar’s data. Monthly Events Calendar uses its own event pages, so you don’t need those layouts — but if your site already has events in The Events Calendar, you don’t have to retype them:
- Install Monthly Events Calendar alongside it. Your existing events appear in the new calendar straight away, read-only.
- When you’re happy, import them in one click — slugs, featured images and SEO settings come with them.
- Deactivate The Events Calendar. Old event addresses redirect to the new event pages.
Our switching guide explains each step.
Avada Layouts and event pages
If you use Avada Layouts to build custom single-post layouts, check that your layout’s conditions don’t include the Events post type. Event pages come with their own layout — date, venue and an Add to Calendar button — and a generic post layout can hide them.
For the other builders, see the page builder guide, or our Elementor and Divi guides.
Keep reading
- How to Add an Events Calendar to a Kadence Site
- Embed Google Calendar in WordPress — or Use an Events Plugin?
- How to Add Google Calendar Events to WordPress (3 Ways)
Add a calendar to your Avada site
Free, lightweight, works with Avada Builder.