How to Build a Live Music Calendar for Your Venue or Band
Fans check a venue’s website for one thing: who’s playing, and when. Bands need the same thing in reverse — where they’re playing next. A live music calendar on WordPress handles both, with a page for every gig that you can share and fans can save.
In short: one event per show, the venue saved once, ticket links in the event’s URL field, door and stage times in the description, and a list view on your homepage.
Venue or band: two set-ups
| Venue / bar | Band / artist | |
|---|---|---|
| Events | Each show at your venue | Each gig you play |
| Venues | Usually just one (your rooms if you have several) | Every venue you play — saved as you go |
| Organizers | Promoters, if you work with several | Usually not needed |
| Main view | Month (fans plan ahead) | List (the next gigs, in order) |
Step 1: Install and set up
Install Monthly Events Calendar from Plugins → Add New Plugin. In Events Calendar → Settings, set your timezone and time format. A venue with several rooms should add each room as a venue (“Main Room”, “Basement”); a band adds venues as gigs come in.
Step 2: Write gig listings fans can use
For each show, add an event with:
- Title: the headliner, plus “+ support” if useful — “The Night Owls + Laura Vance”.
- Start time: doors. End time: the curfew or roughly when it finishes.
- Description: stage times, age policy, price, and a line about the music for people who don’t know the band yet. Embed a track or video if your theme allows it.
- URL: the ticket link. If it’s free entry, say so in the description.
- Featured image: the gig poster or a band photo — it shows in the preview card when visitors hover the event.
- Category: genre or type — Live music, Open mic, Jazz night, Club night.
Step 3: Publish the calendar
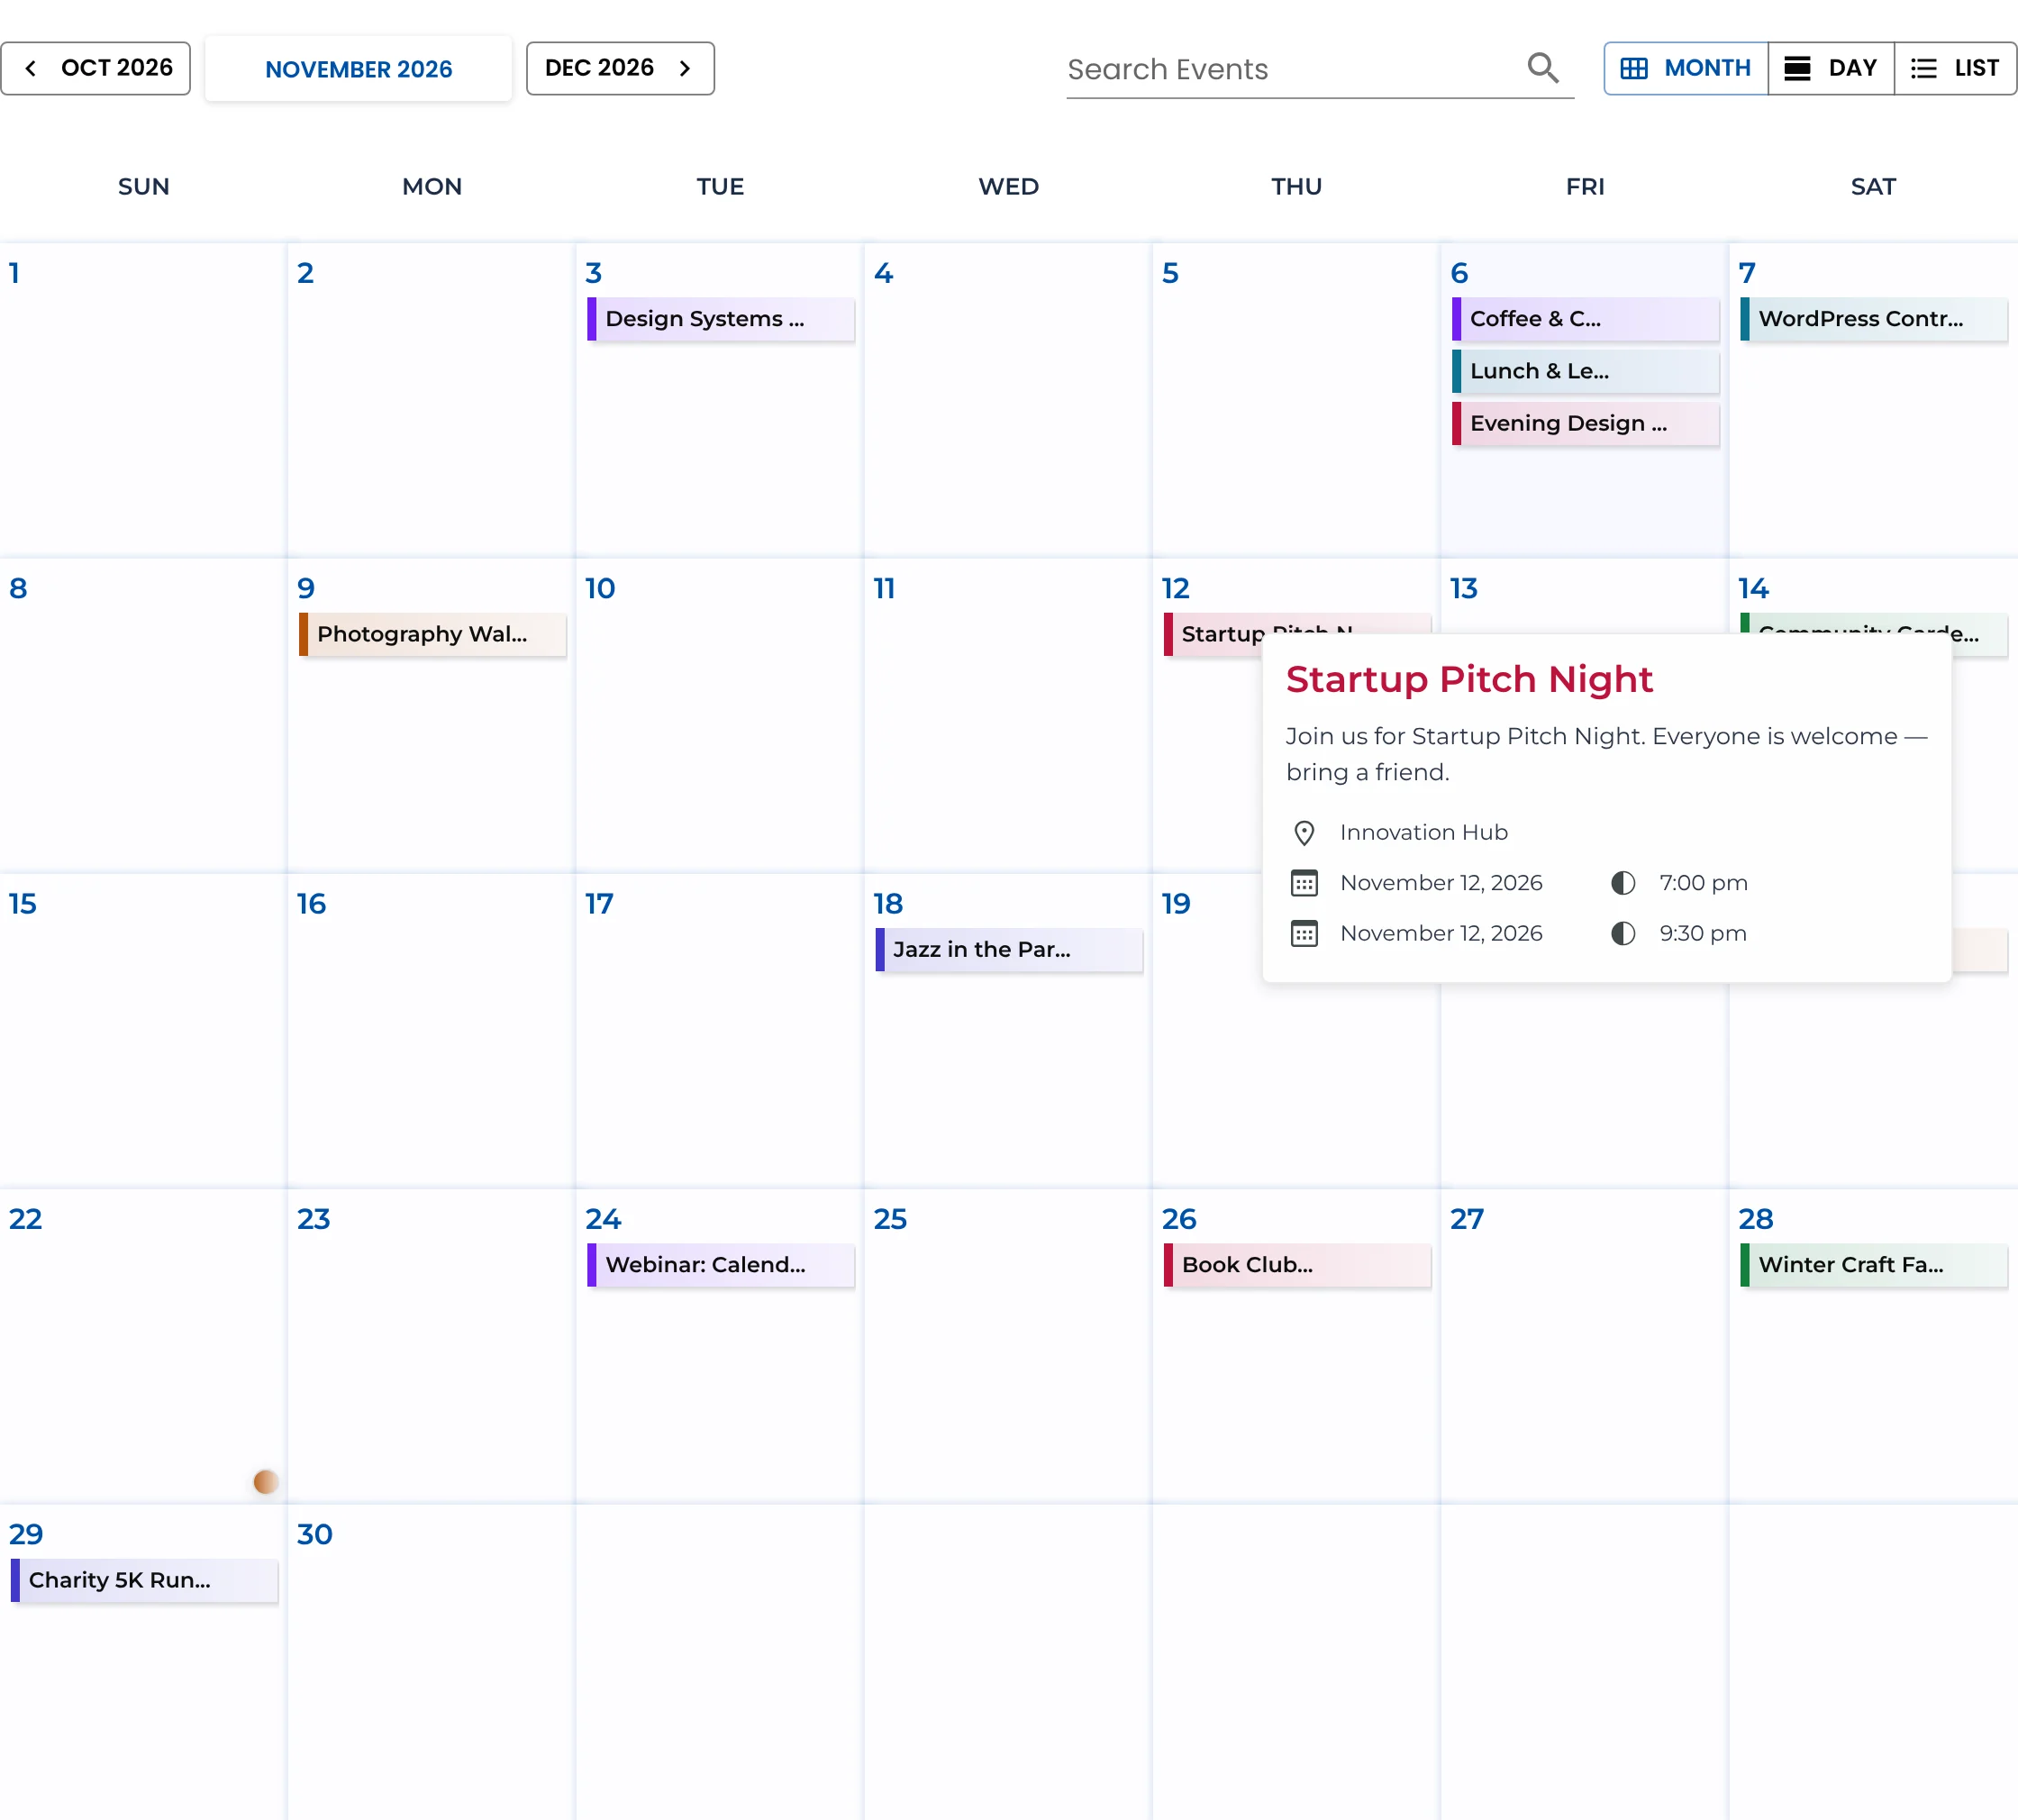
- Venues: a Gigs or What’s on page with the month view, plus the list view on the homepage.
- Bands: a Tour or Live page with
[wp_monthly_events view="list"]— a clean list of upcoming dates with venues.
Add one calendar per page, and put the link in your main menu.
Step 4: Sell more tickets from the calendar
- Add to Calendar on every gig page lets fans save the date with one tap — on Google, Apple, Outlook and more. How it works
- Share the gig page, not the calendar, on social media and in your mailing list. It has the poster, the times and the ticket link in one place.
- Mark sell-outs. Add “SOLD OUT —” to the title and a tag sold out so people stop clicking through to the ticket site.
- Use colours for genres so regulars can spot their kind of night across the month.
Step 5: Weekly regulars
Open mic every Wednesday? Quiz every Thursday? Recurring events are planned for version 2.0. For now, add the next month of regular nights in one go — with the venue saved it takes a couple of minutes — or describe weekly nights on a separate “Regular nights” page and keep the calendar for one-off shows.
Bands: show tour dates on your homepage
A short list of the next three or four shows near the top of your homepage converts better than a link to a tour page. Add a heading (“Live dates”), the calendar in list view, and a button to the full tour page. How to show upcoming events
Keep reading
- How to Build a Sports Club Calendar in WordPress
- How to Set Up a Library Events Calendar in WordPress
- How to Build a School Events Calendar in WordPress
Put your gigs online
Free, quick to update between soundchecks.