How to Show Online Event Times in Every Time Zone
An online event has an audience in many places at once — and every one of them has to work out what “7 pm” means for them. Get online event time zones wrong and people turn up an hour late, or not at all. Here’s how to list times so everyone sees the right one, with or without a plugin.
In short: save each event with the timezone it’s hosted in, let the calendar convert it to each visitor’s local time, write the time zone out in words in the description, and give people an Add to Calendar button so their own calendar does the rest.
Why time zones trip people up
Three things go wrong again and again:
- Ambiguous abbreviations. “EST”, “CST” and “IST” each mean more than one thing, and people use “EST” all year even though the US East Coast is on EDT for much of it.
- Daylight saving changes on different dates. The US and Europe change their clocks on different weekends, so for a few weeks each spring and autumn the gap between New York and London is four hours instead of five.
- Mental arithmetic. Asking people to convert a time themselves is asking for mistakes — especially across midnight.
The four rules
1. Store the event in the time zone where it’s hosted
Pick the host’s city time zone — “America/New_York”, “Europe/London” — rather than a fixed offset like “UTC−5”. A city time zone knows about daylight saving; a fixed offset doesn’t.
In Monthly Events Calendar, every event has its own Timezone setting (version 1.6). Your site’s default is filled in automatically; change it for events hosted somewhere else. Event timezones explained
2. Show each visitor their own local time
The calendar converts each event to the visitor’s local time, so someone in Sydney and someone in Toronto both see a time they can use without doing sums. This is the single biggest fix for no-shows.
3. Spell it out in the description too
People forward event details by email and chat, where no calendar can convert anything. Add a line like:
Starts 11:00 am New York time (4:00 pm in London, 9:30 pm in Mumbai).
Name the city, not just the abbreviation, and include one or two of the time zones most of your audience is in.
4. Let people save it to their calendar
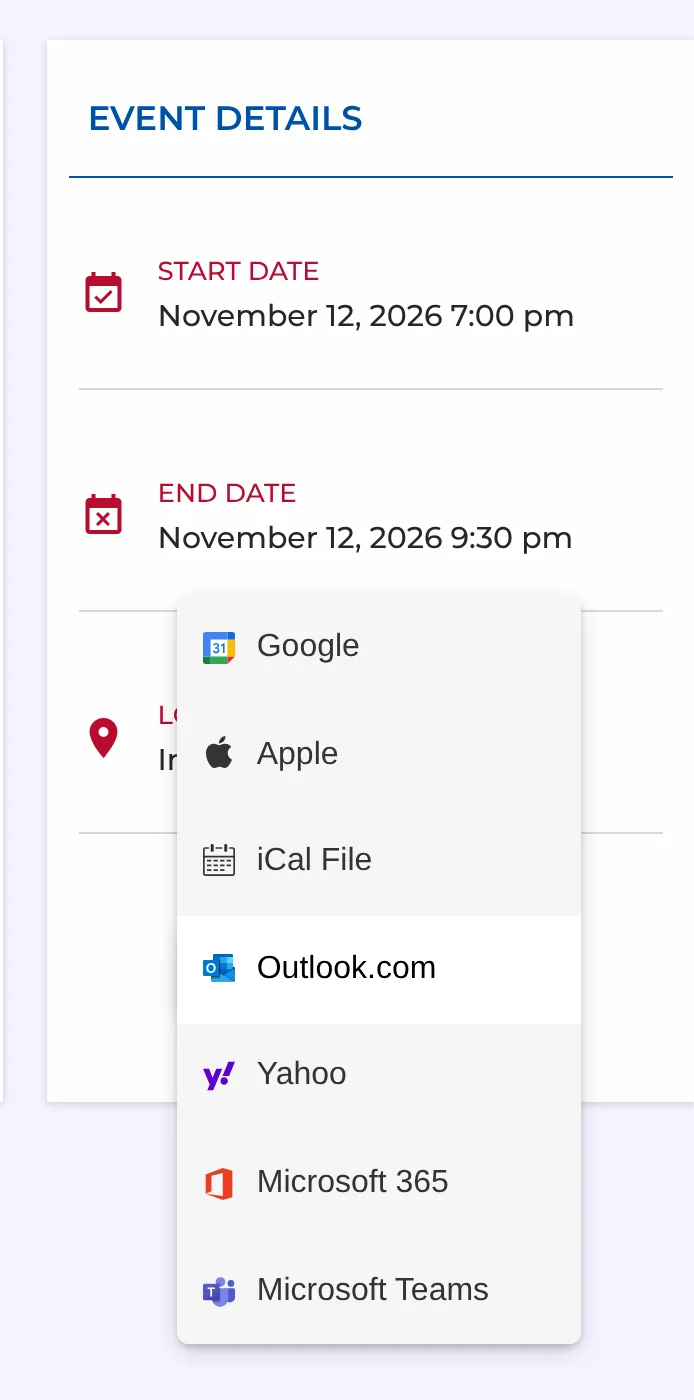
An Add to Calendar button sends the event with its time zone, and the visitor’s own calendar app shows it in local time — and adjusts if they travel. Every Monthly Events Calendar event page has one, for Google, Apple, Outlook.com, Microsoft 365, Teams and more. Add to Calendar
Picking a time for a global audience
If your audience spans continents, no time is perfect. Some rules of thumb:
| Audience | Times that usually work |
|---|---|
| Americas + Europe | 11 am–1 pm New York (4–6 pm London) |
| Europe + India | 9–11 am London (early afternoon in Mumbai) |
| Europe + Asia-Pacific | 7–9 am London (afternoon/evening in Singapore and Sydney) |
| Truly global | Run the session twice, or record it |
Check the weeks around daylight-saving changes in March, April, October and November before you publish.
All-day and multi-day online events
A 24-hour hackathon or a “day of giving” isn’t tied to one time zone in the same way. Use an all-day event when the date itself is what matters: all-day events stay on their calendar date for every visitor instead of shifting into the day before or after.
A checklist before you publish
- Event saved with the host city’s time zone
- Start and end times checked in two other time zones
- Time written out in the description, with city names
- Joining link and when it will be sent
- Add to Calendar button visible
- Recording plans mentioned, for people who can’t make the time
If your event is in person but your audience isn’t local — a conference with remote attendees, say — the same rules apply. See how to publish a conference schedule.
Keep reading
- How an Add to Google Calendar Link Works (and How to Make One)
- How to Choose a WordPress Events Calendar Plugin: 10 Questions to Ask
- What to Put on an Event Page: A 12-Point Checklist
Times that are right for everyone
Per-event timezones and local times are free in Monthly Events Calendar 1.6.