How to Run a Community Events Calendar on WordPress
A community events calendar is one of the most useful things a local website can offer — and one of the easiest to let go stale. This guide covers setting one up on WordPress for a town, neighbourhood group, residents’ association or nonprofit, and the routines that keep it worth visiting.
In short: decide what counts as a “community event”, set up categories people actually browse by, collect events through a simple form, and give one person a weekly slot to publish and tidy.
Decide what belongs on the calendar
The best community calendars have a clear scope. Write it down and put it on the page:
- Where: your town, a set of neighbourhoods, or “within 10 miles”.
- What: free and low-cost events open to the public? Ticketed shows too? Club meetings?
- Who can submit: anyone, or only member organisations?
A short “What we list” paragraph above the calendar saves a lot of awkward emails.
Step 1: Install and configure
Install Monthly Events Calendar from Plugins → Add New Plugin. In Events Calendar → Settings, set your local timezone and the date format your area uses — day/month or month/day matters more than you’d think.
Step 2: Categories people browse by
Visitors think in terms of what kind of thing and who it’s for. Use categories for the first and tags for the second:
- Categories: Arts & culture, Markets & fairs, Sport & fitness, Talks & learning, Volunteering, Family, Meetings.
- Tags: free, kids, accessible, outdoors, dog-friendly.
Each category and tag gets its own calendar page — /events-tag/free/ is a page many people will bookmark. Categories and tags
Step 3: Venues and organizers
Community events reuse the same places — the library, the park, the village hall — and the same groups. Save each as a venue or organizer once, with address and contact details, and they appear on every event page. When a hall changes its phone number, you update it in one place. Venues and organizers
Step 4: Collect events from the community
Monthly Events Calendar doesn’t include a public submission form, and that’s usually fine: a simple form plus a quick review keeps spam and mistakes off the calendar.
- Create a form with your usual form plugin (WPForms, Gravity Forms, Contact Form 7, Fluent Forms…). Ask for: event name, date and time, venue and address, organiser and contact, a two-line description, a link, and an image.
- Put it on a “Submit an event” page and link to it from the calendar page.
- Each week, add the submissions as events and publish.
If you’d like submitted events to be created as drafts automatically, several form plugins can create posts of any type — point them at the Events post type and review drafts under Events Calendar → All Events.
Step 5: Publish and promote the calendar
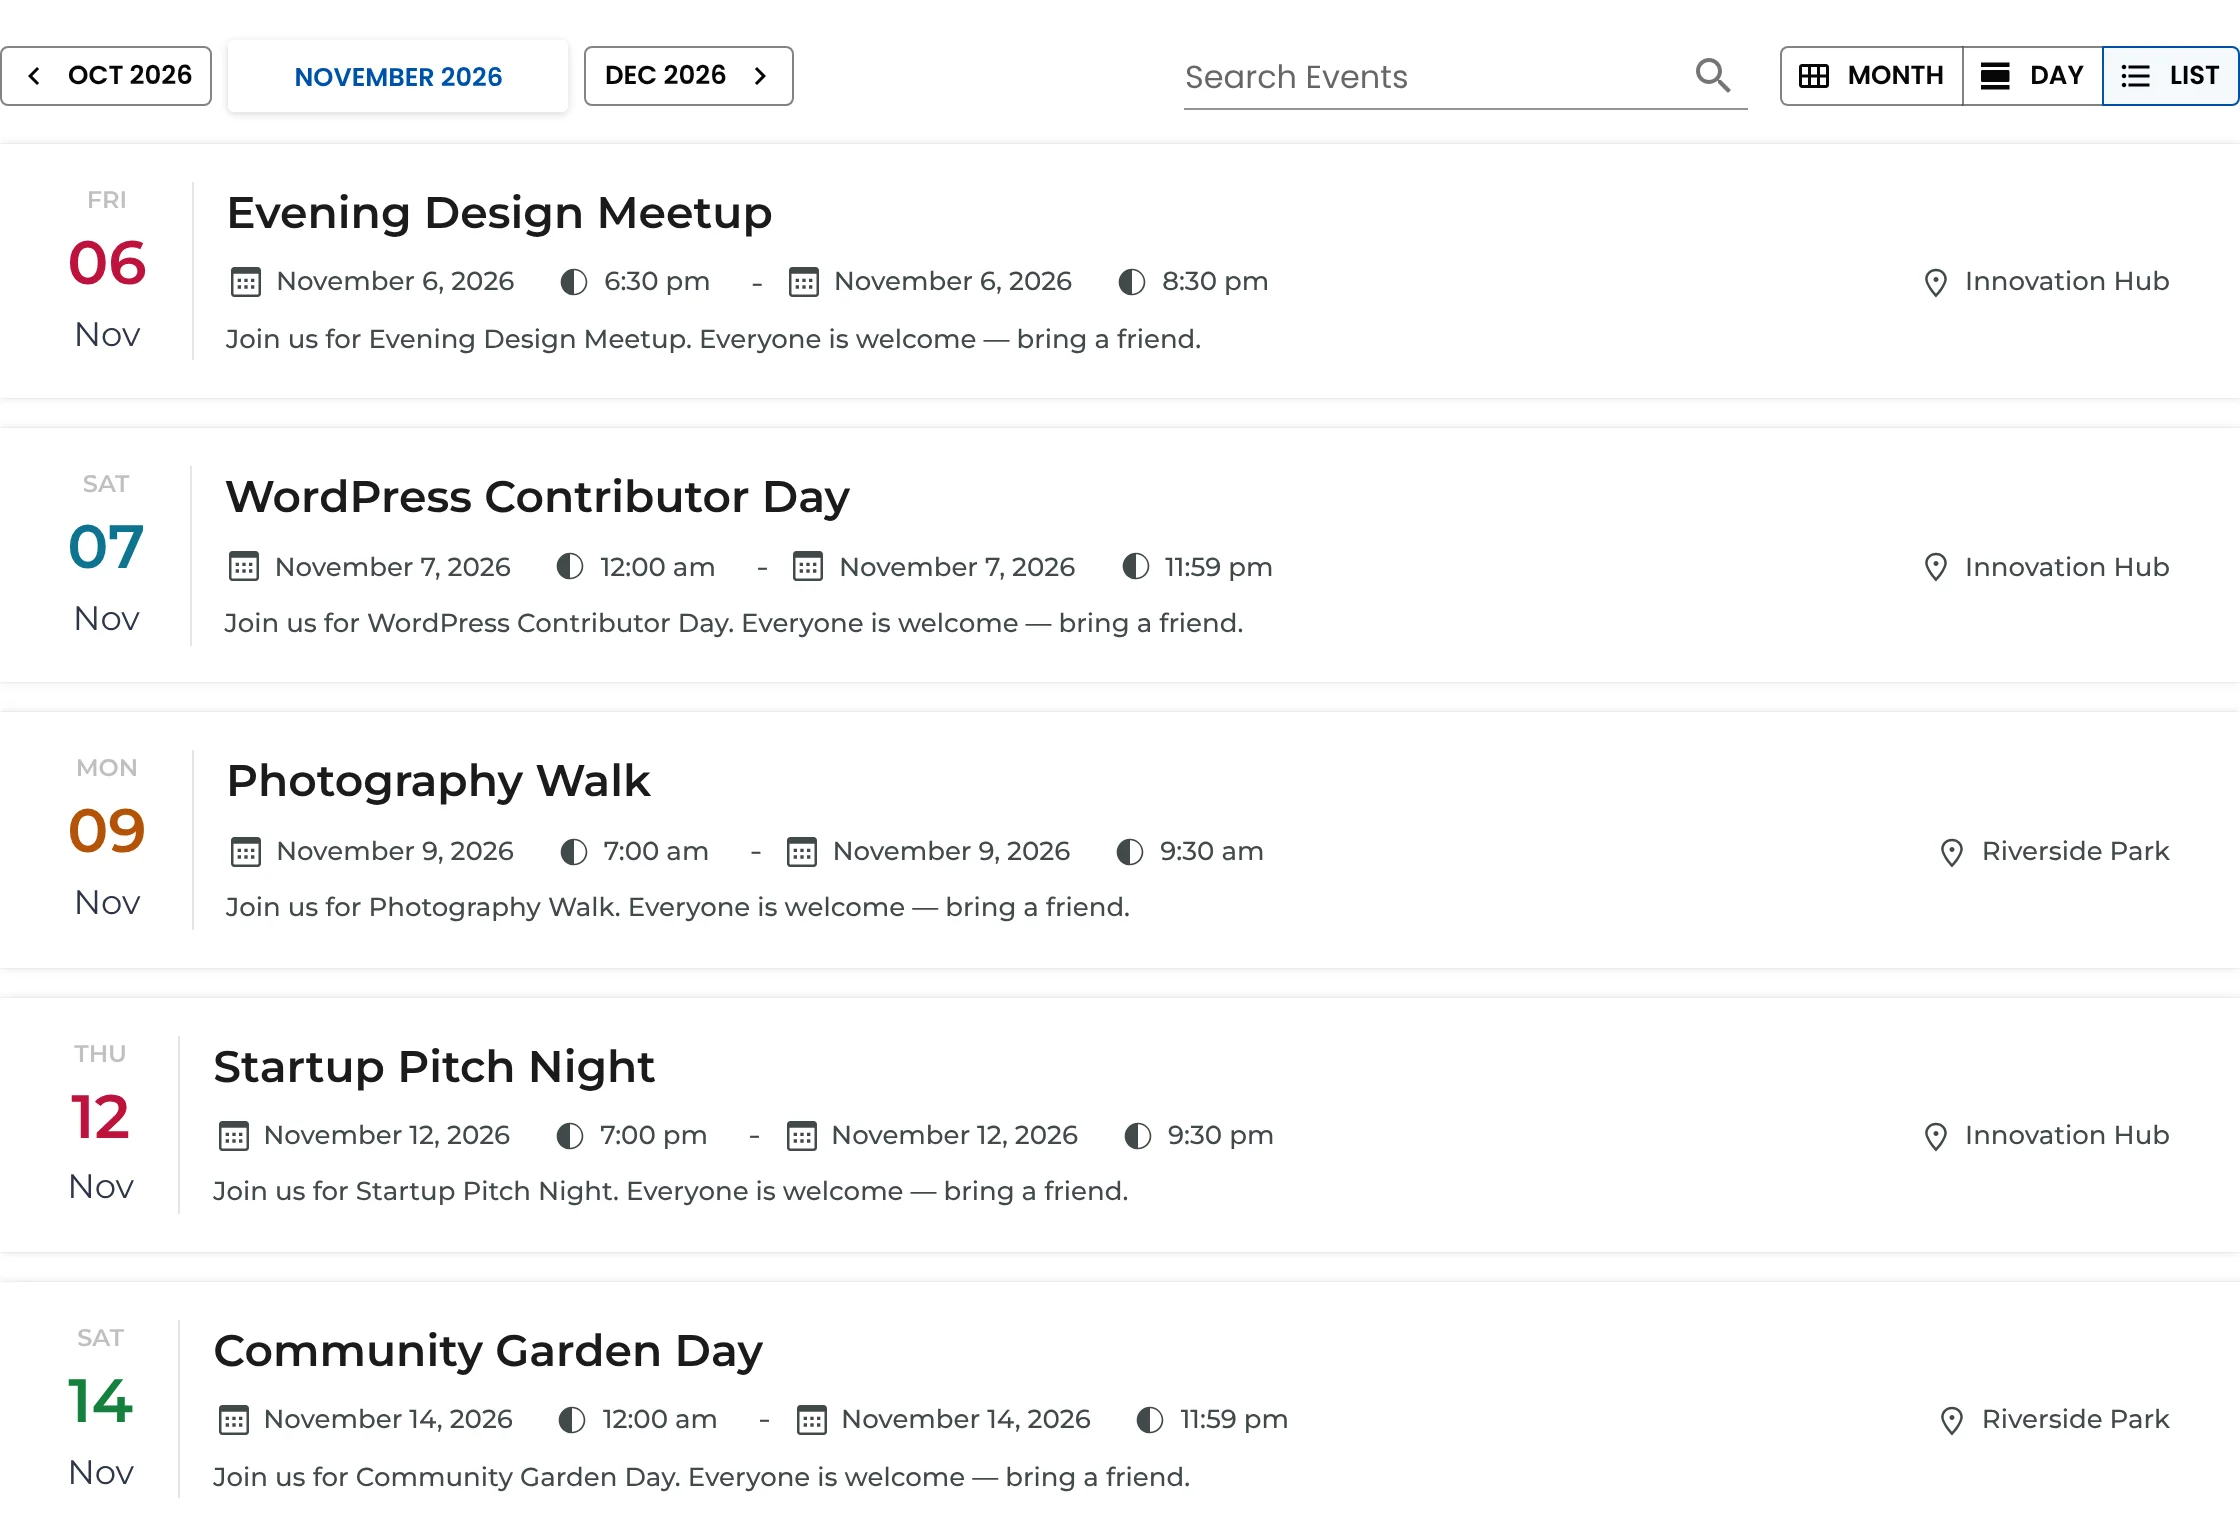
- Put the month view on an Events page and the list view on your homepage.
- Link to category pages from relevant places — the Family category from your “Things to do with kids” page, for example.
- When you share an event, share its page: it has the date, venue and an Add to Calendar button. Promoting events on your website
Step 6: Keep it current
A stale calendar loses visitors quickly. A weekly routine:
- Add new submissions.
- Check the next two weeks: anything cancelled or changed?
- Remove or mark events that didn’t happen.
- Make sure there’s something on every weekend for the next month — if not, ask your regular organisers.
Accessibility counts
Community calendars serve everyone, including people using screen readers or phones with large text. Write descriptive titles, include access information in descriptions (step-free access, hearing loop, quiet times) and add alt text to event images. Our accessible events calendar checklist has more.
Keep reading
- How to Show a Class Schedule in WordPress (Gyms, Studios and Schools)
- How to Build a Live Music Calendar for Your Venue or Band
- How to Build a Sports Club Calendar in WordPress
Start your community calendar
Free, simple for volunteers to keep up to date.