How to Show a Class Schedule in WordPress (Gyms, Studios and Schools)
When someone looks at a studio or gym website, they’re usually asking one question: “What’s on today, and when?” A clear class schedule in WordPress answers it in a glance. This guide sets one up with a free calendar plugin, using the daily view as a timetable.
Best fit: studios and gyms that want a public timetable people can browse and save. If you need online booking with payments and class passes, you’ll want a booking system alongside it — more on that below.
Why the day view works as a timetable
Monthly Events Calendar’s daily agenda view lays one day’s classes out on a timeline, with a strip of dates across the top to jump to any day in the month. It’s exactly how people read a timetable: today first, then the next day they could come.
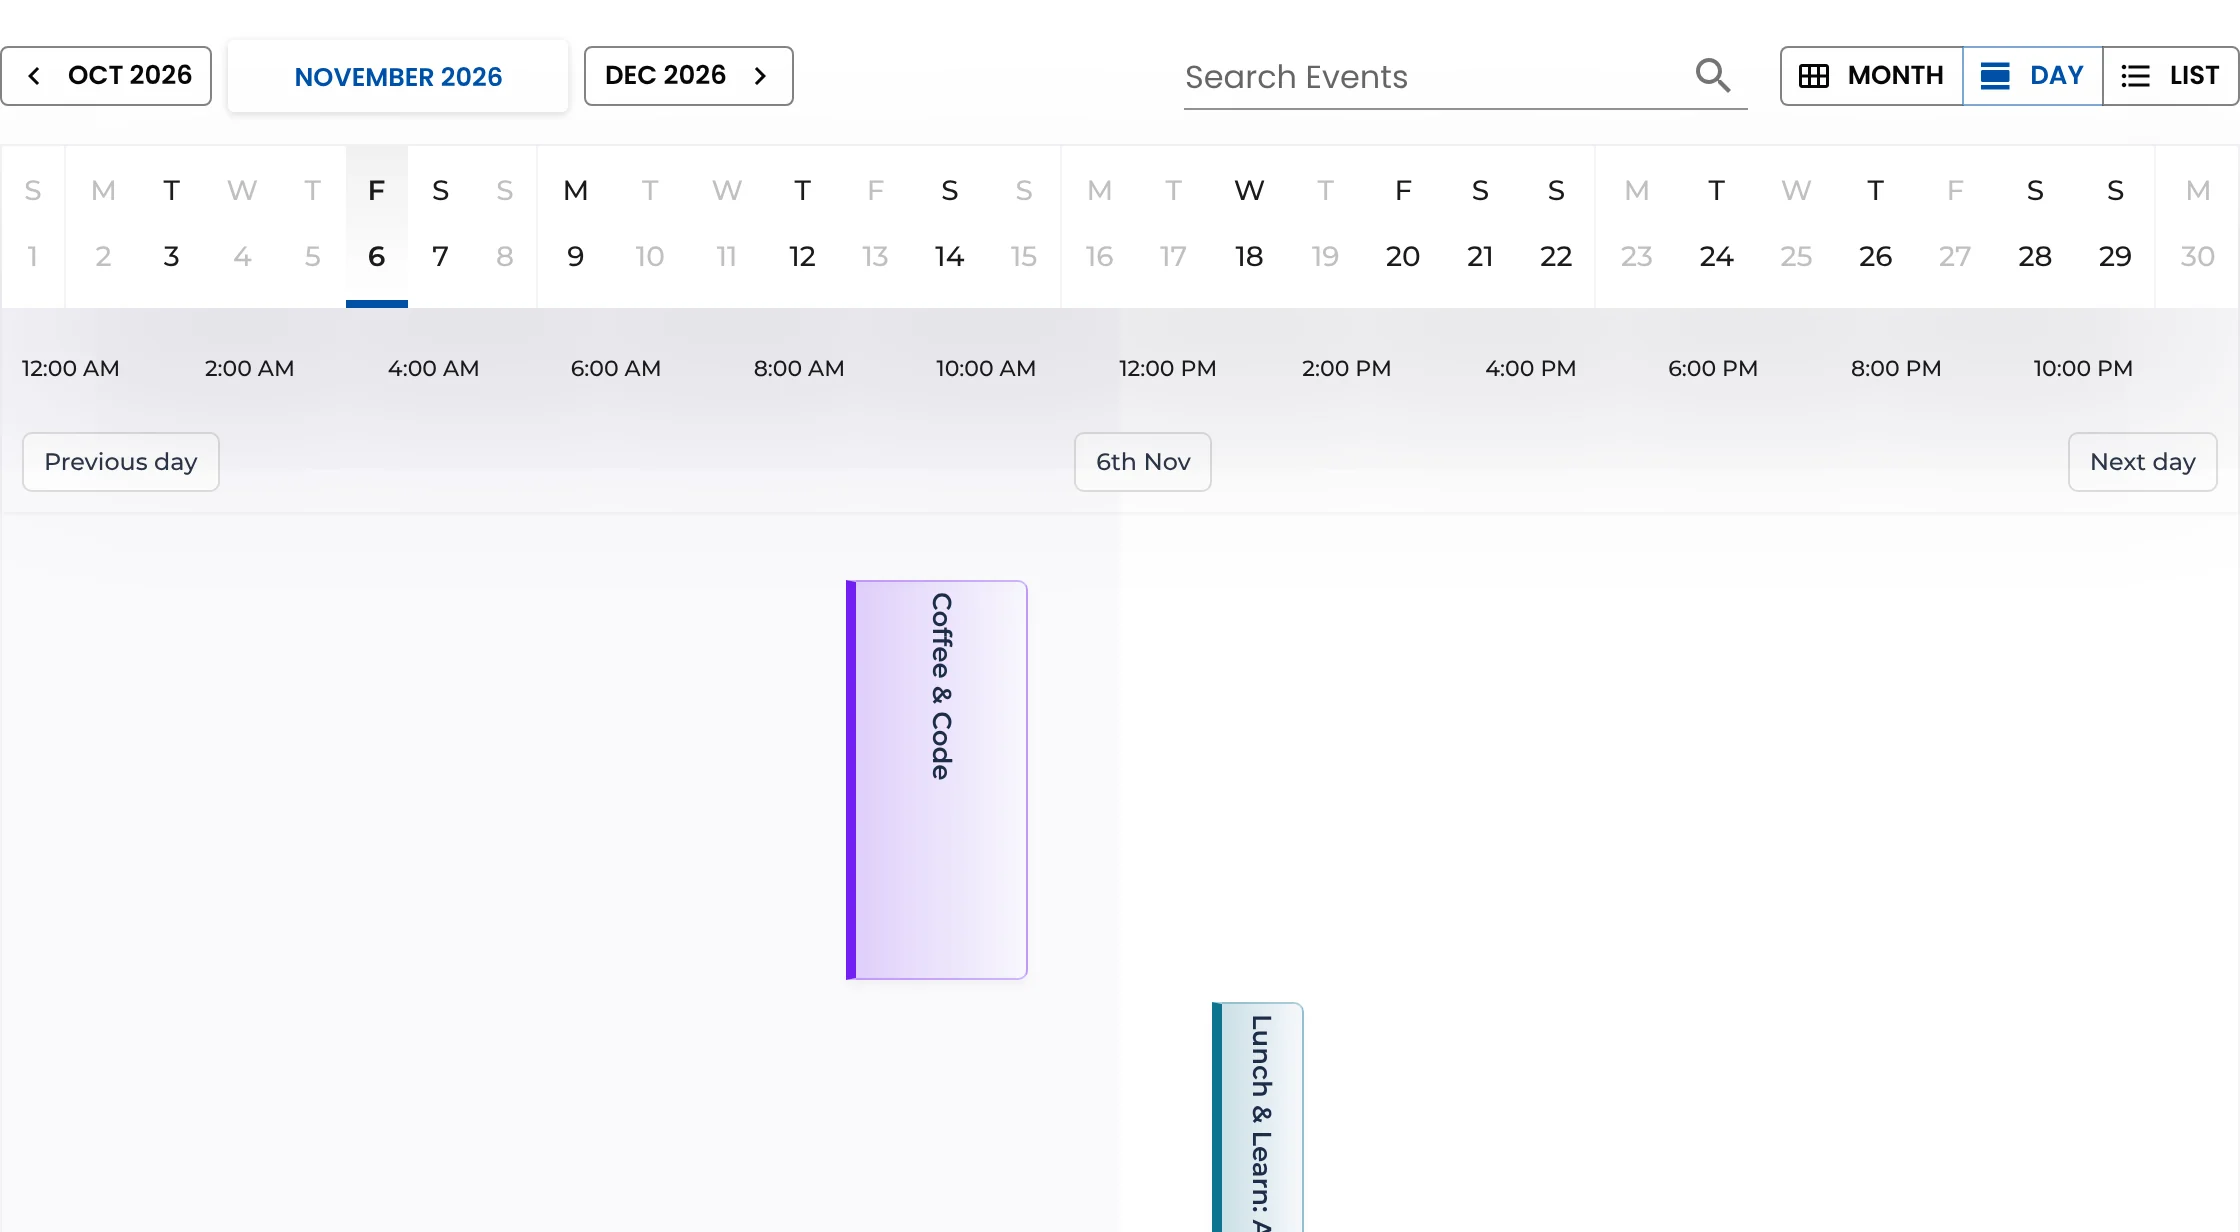
The month view is useful too — for workshops, intensives and holiday closures — and visitors can switch between them with one click.
Step 1: Set up the basics
- Install Monthly Events Calendar (Plugins → Add New Plugin) and activate it.
- In Events Calendar → Settings, set your timezone and a 12- or 24-hour time format.
- Set Select Default View to Day if the schedule is your main calendar.
Step 2: Model your classes
| What | Use | Example |
|---|---|---|
| Class type | Event category | Yoga, Pilates, HIIT, Spin, Kids |
| Level or style | Event tag | beginner, all levels, hot, low impact |
| Room or location | Venue | Studio 1, Studio 2, Outdoor deck |
| Instructor | Organizer | Priya (with a short bio link) |
| Colour | Highlight Color | One per class type |
Each class type gets its own calendar page — handy for a “Yoga timetable” page that only shows yoga. Categories and tags
Step 3: Add the classes
Add each class as an event: title (“Vinyasa Flow — all levels”), date, start and end time, venue (room), organizer (instructor), category and colour. In the description, say what to bring, who it suits and how to book.
Repeating classes: recurring events are planned for version 2.0. For now, add the coming weeks’ classes in one session — it’s quick once your venues and instructors are saved — and update the schedule at the start of each month or term.
Step 4: Publish the timetable
Create a Timetable page with the calendar block set to Day, or paste:
[wp_monthly_events view="day"]Add a short line above it: your booking link, cancellation policy and what to do if a class is full.
On your homepage, a list view of the next few classes works well: [wp_monthly_events view="list"].
Step 5: Booking and changes
The calendar shows the schedule; it doesn’t take bookings or payments. Common setups:
- Booking through your existing system (Mindbody, Glofox, a booking plugin): put the class’s booking link in the event’s URL field, so each class links straight to its booking page.
- Drop-in classes: say “Drop in — pay at the desk” in the description.
When a class is cancelled or covered, update it straight away: change the instructor, or add “Cancelled:” to the title. Members who saved the class with Add to Calendar will look at the event page to check.
Tips for a timetable people trust
- Same name, every time. “Vinyasa Flow” everywhere, not sometimes “Flow Yoga”.
- Colour by intensity or type, and add a small key above the timetable.
- Show holiday closures as all-day events so nobody turns up to a locked door.
- Check it on a phone — that’s where most people will look, often on the way to you.
Running a school rather than a studio? See how to build a school events calendar.
Keep reading
- How to Build a Live Music Calendar for Your Venue or Band
- How to Build a Sports Club Calendar in WordPress
- How to Set Up a Library Events Calendar in WordPress
Publish your class timetable
Free, mobile-friendly, ready in minutes.